If you have someone who helps you with computer issues—or if YOU are someone who helps others with computer issues, you should set up a free remote connection so you can operate and instruct without actually being there.
The first step is for the person who is the helper to set up a free account with LogMeIn. Once that account is setup, the people you want to give help to can set up their accounts using your email address as their account name. That way you can connect to their computers with just a few clicks.
Inevitably, these procedures will change a bit over time as LogMeIn alters things slightly. However, if you have logged in with the username and password you were given and installed logmein on your computer and have NOT given any credit card information, you should be ready to go.
If you are the person GIVING Â help and need to set up your first LogMeIn account, click here for the steps to follow:
If you are the person BEING HELPED, and your helper has already set up an account using their email address, continue reading:
NOTE: There is a sort of hidden step, in that the first time you use LogMeIn, it may ask you to update your browser plugin. Or not. But give yourself a few extra minutes in case it does 🙂 Mostly this would happen if you set up LogMeIn, but then waited many weeks or months before you used it.
Privacy: If you login to your computer when it starts up, LogMeIn will want any remote user to know that password, in most cases. So if you want to keep that password private, either change it before a LogMeIn session, or turn off logging into your computer.
1. Go to LogMeIn.com and login using the email address and password you were given.
2. This is the most confusing step, so read carefully!! It’s very, very, very simple, but it’s just not what you expect. Don’t click anything on the page it takes you to! You are simply going to return to the main page now that you have logged in, and LogMeIn doesn’t make that easy. It will ask you for a free trial or it may tell you a trial is expired. Don’t click anything. Delete the URL (web address) in your browser bar, and simply type logmein.com and press enter. This should take you to the home page, where you will see that you are now logged in.
As long as you don’t close your browser, ANY method you use to get back to logmein.com will work fine 🙂
3. Now over on the right you will see a little window where you can click “My Computers” It will look like this:
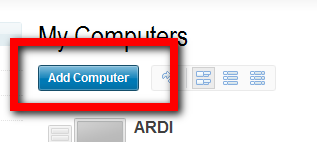
4. Now you will see a button you can click at the top called “Add Computer” Click it. It will look like this:
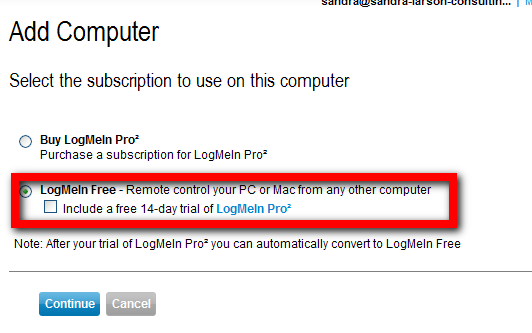
5. Now choose LogMeIn Free and uncheck the free 14-day trial button below it, then click “Continue”
6. Now you can click the “Download Now” button and run the program to install LogMeIn on your computer:
7. Accept to start the installation. This will look different on different computers. This is what it looks like on most Windows XP computers:
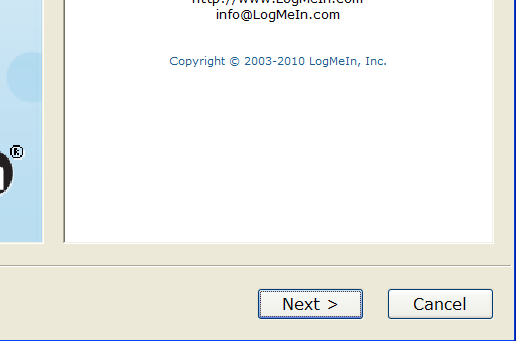
8. Click “Next” to begin the actual installation:
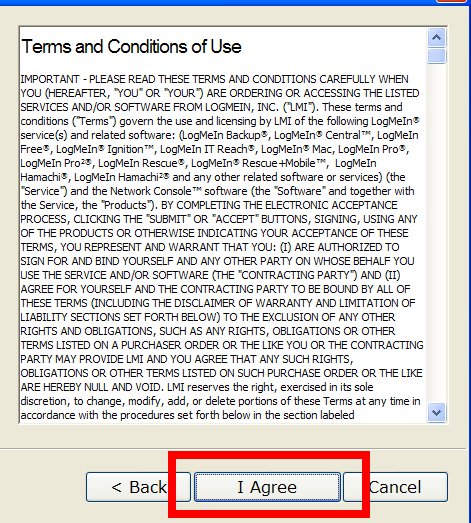
9. Accept the Terms and Conditions of Use:
10. Choose the Custom Install Option:
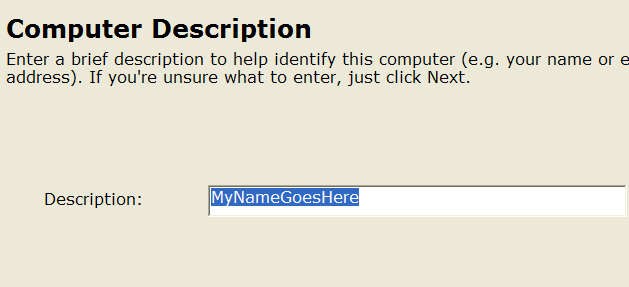
11. Type your first and last name in the description field:
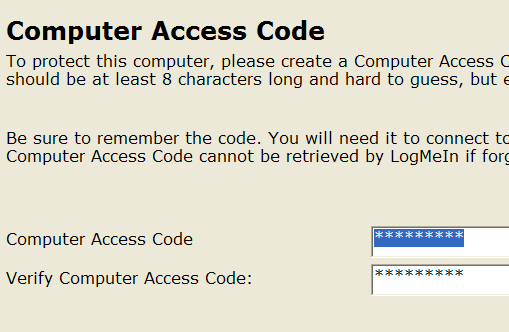
12. Choose a Computer Access Code. This is the password to access your computer:
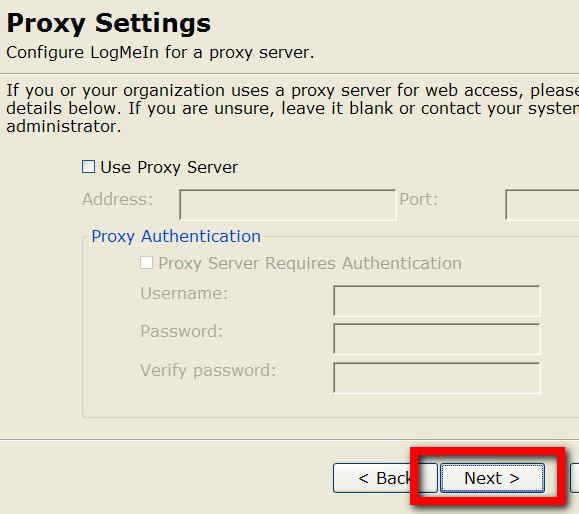
13. Click “Next” to skip the proxy settings screen:
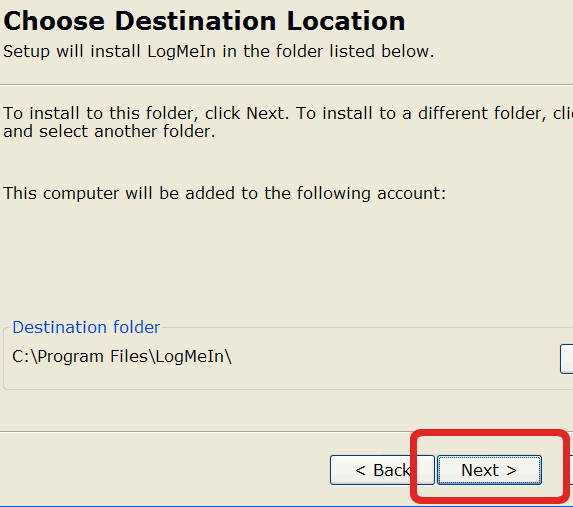
14. Click “Next” to accept the default installation/destination location
15. Click through the remaining dialog boxes to complete the installation and you’re done!
Steps for someone setting up Logmein to help others for the first time
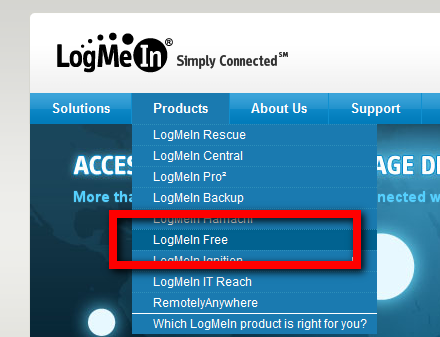
1. If you are setting up LogMeIn for the first time, begin by go to LogMeIn.com and click the products link as shown below, then the LogMeIn Free link from the list that drops down:
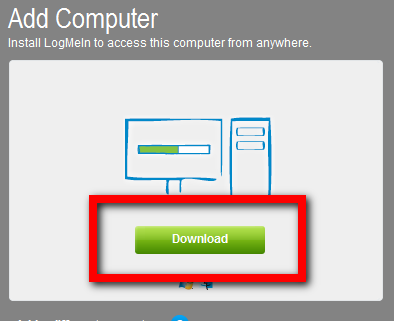
2. Click the “Download Now” button on the next page:
3. and 4. Enter in your email and choose a password and other options as shown. If someone will be helping you, you may need to follow a different procedure, by first logging in on the LogMeIn website with their username and password, as shown at the top of this blog post. If you’re not sure, check with them first. Otherwise, continue:
5. Click the Download button to begin the installation:
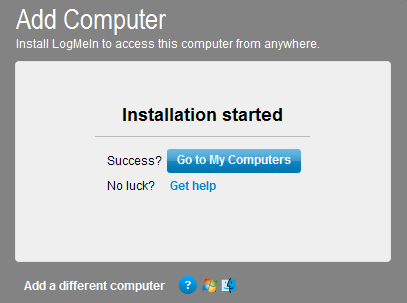
6. Wait while the installation begins:






Be sure to check your spam folder for the email that has your new password.
Hi,
I forgot my account password. I’ve clicked on “Forgot Password” but I never received an email from you.
Is there any other way to change my password, considering I’ve forgotten the old one?
Thank you.
Be sure to check your spam folder for the email that has your new password, and make sure that you haven’t changed your email since you signed up (check your old email if you can in that case).